I just got my hands on an used Sony Vaio VPC F11S1E. It’s a really nice 16.4″ true HD model, with BluRay and Nvidia 330M graphics card. I got it, because it got really really hot, the noise levels were unbearable and also the HDD turned out to be defective.
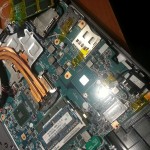
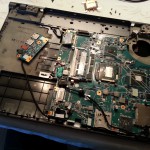
On my never ending quest to do some fun upgrades, I disassembled it completely and cleaned out the dust and grime in the radiator and fans inside. Also I gave it some new thermal paste, which got the noise level somewhat down.
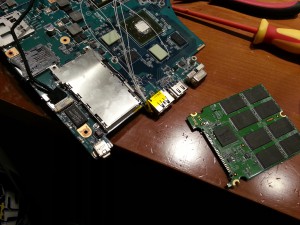
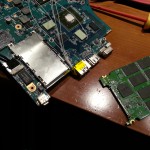
The HDD had to be replaced with a SSD drive, ofcourse, and I had just bought a Force 3 120GB drive. It’s SATA3 6.0Gb/s and should perform around 500MB/sec. The Sony only runs SATA2, but hey, but then at least the drive won’t be the bottleneck. Also I had a nice 1TB drive lying around, and thought the 120GB for both Windows XP, Windows 7 and Ubuntu might be a bit small if I also needed somewhere to place some data.
So why not try to fit both?
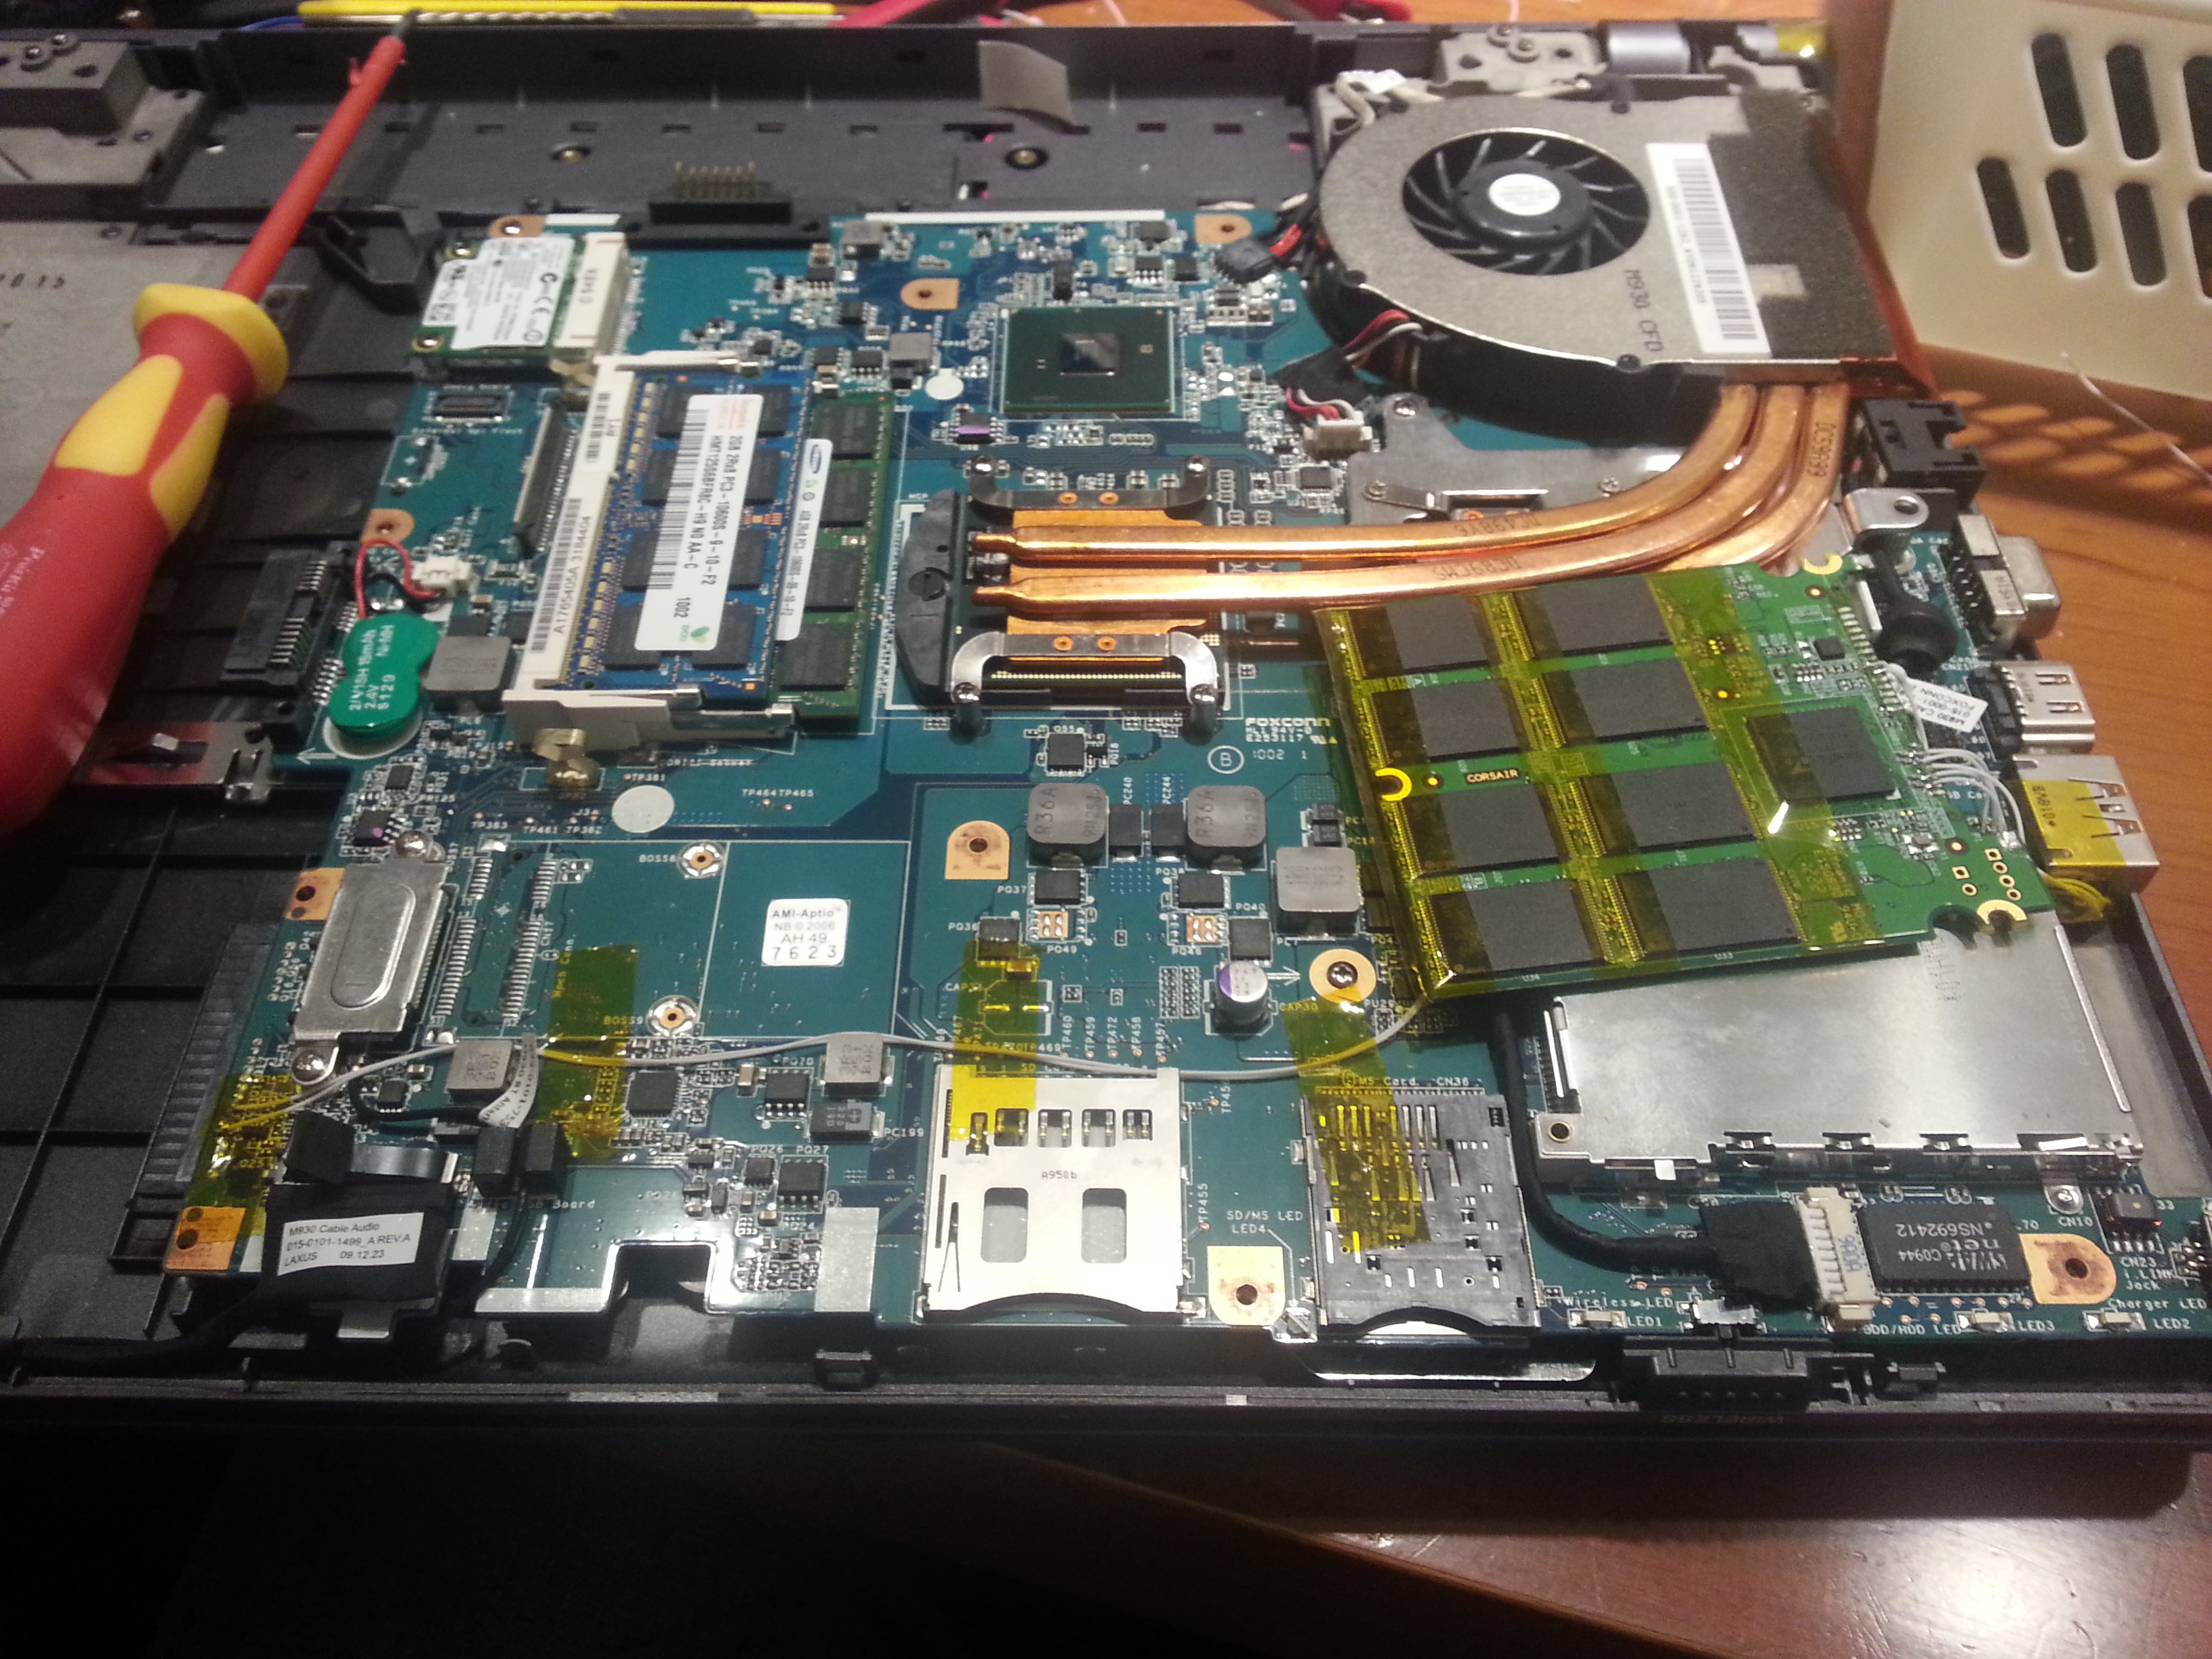
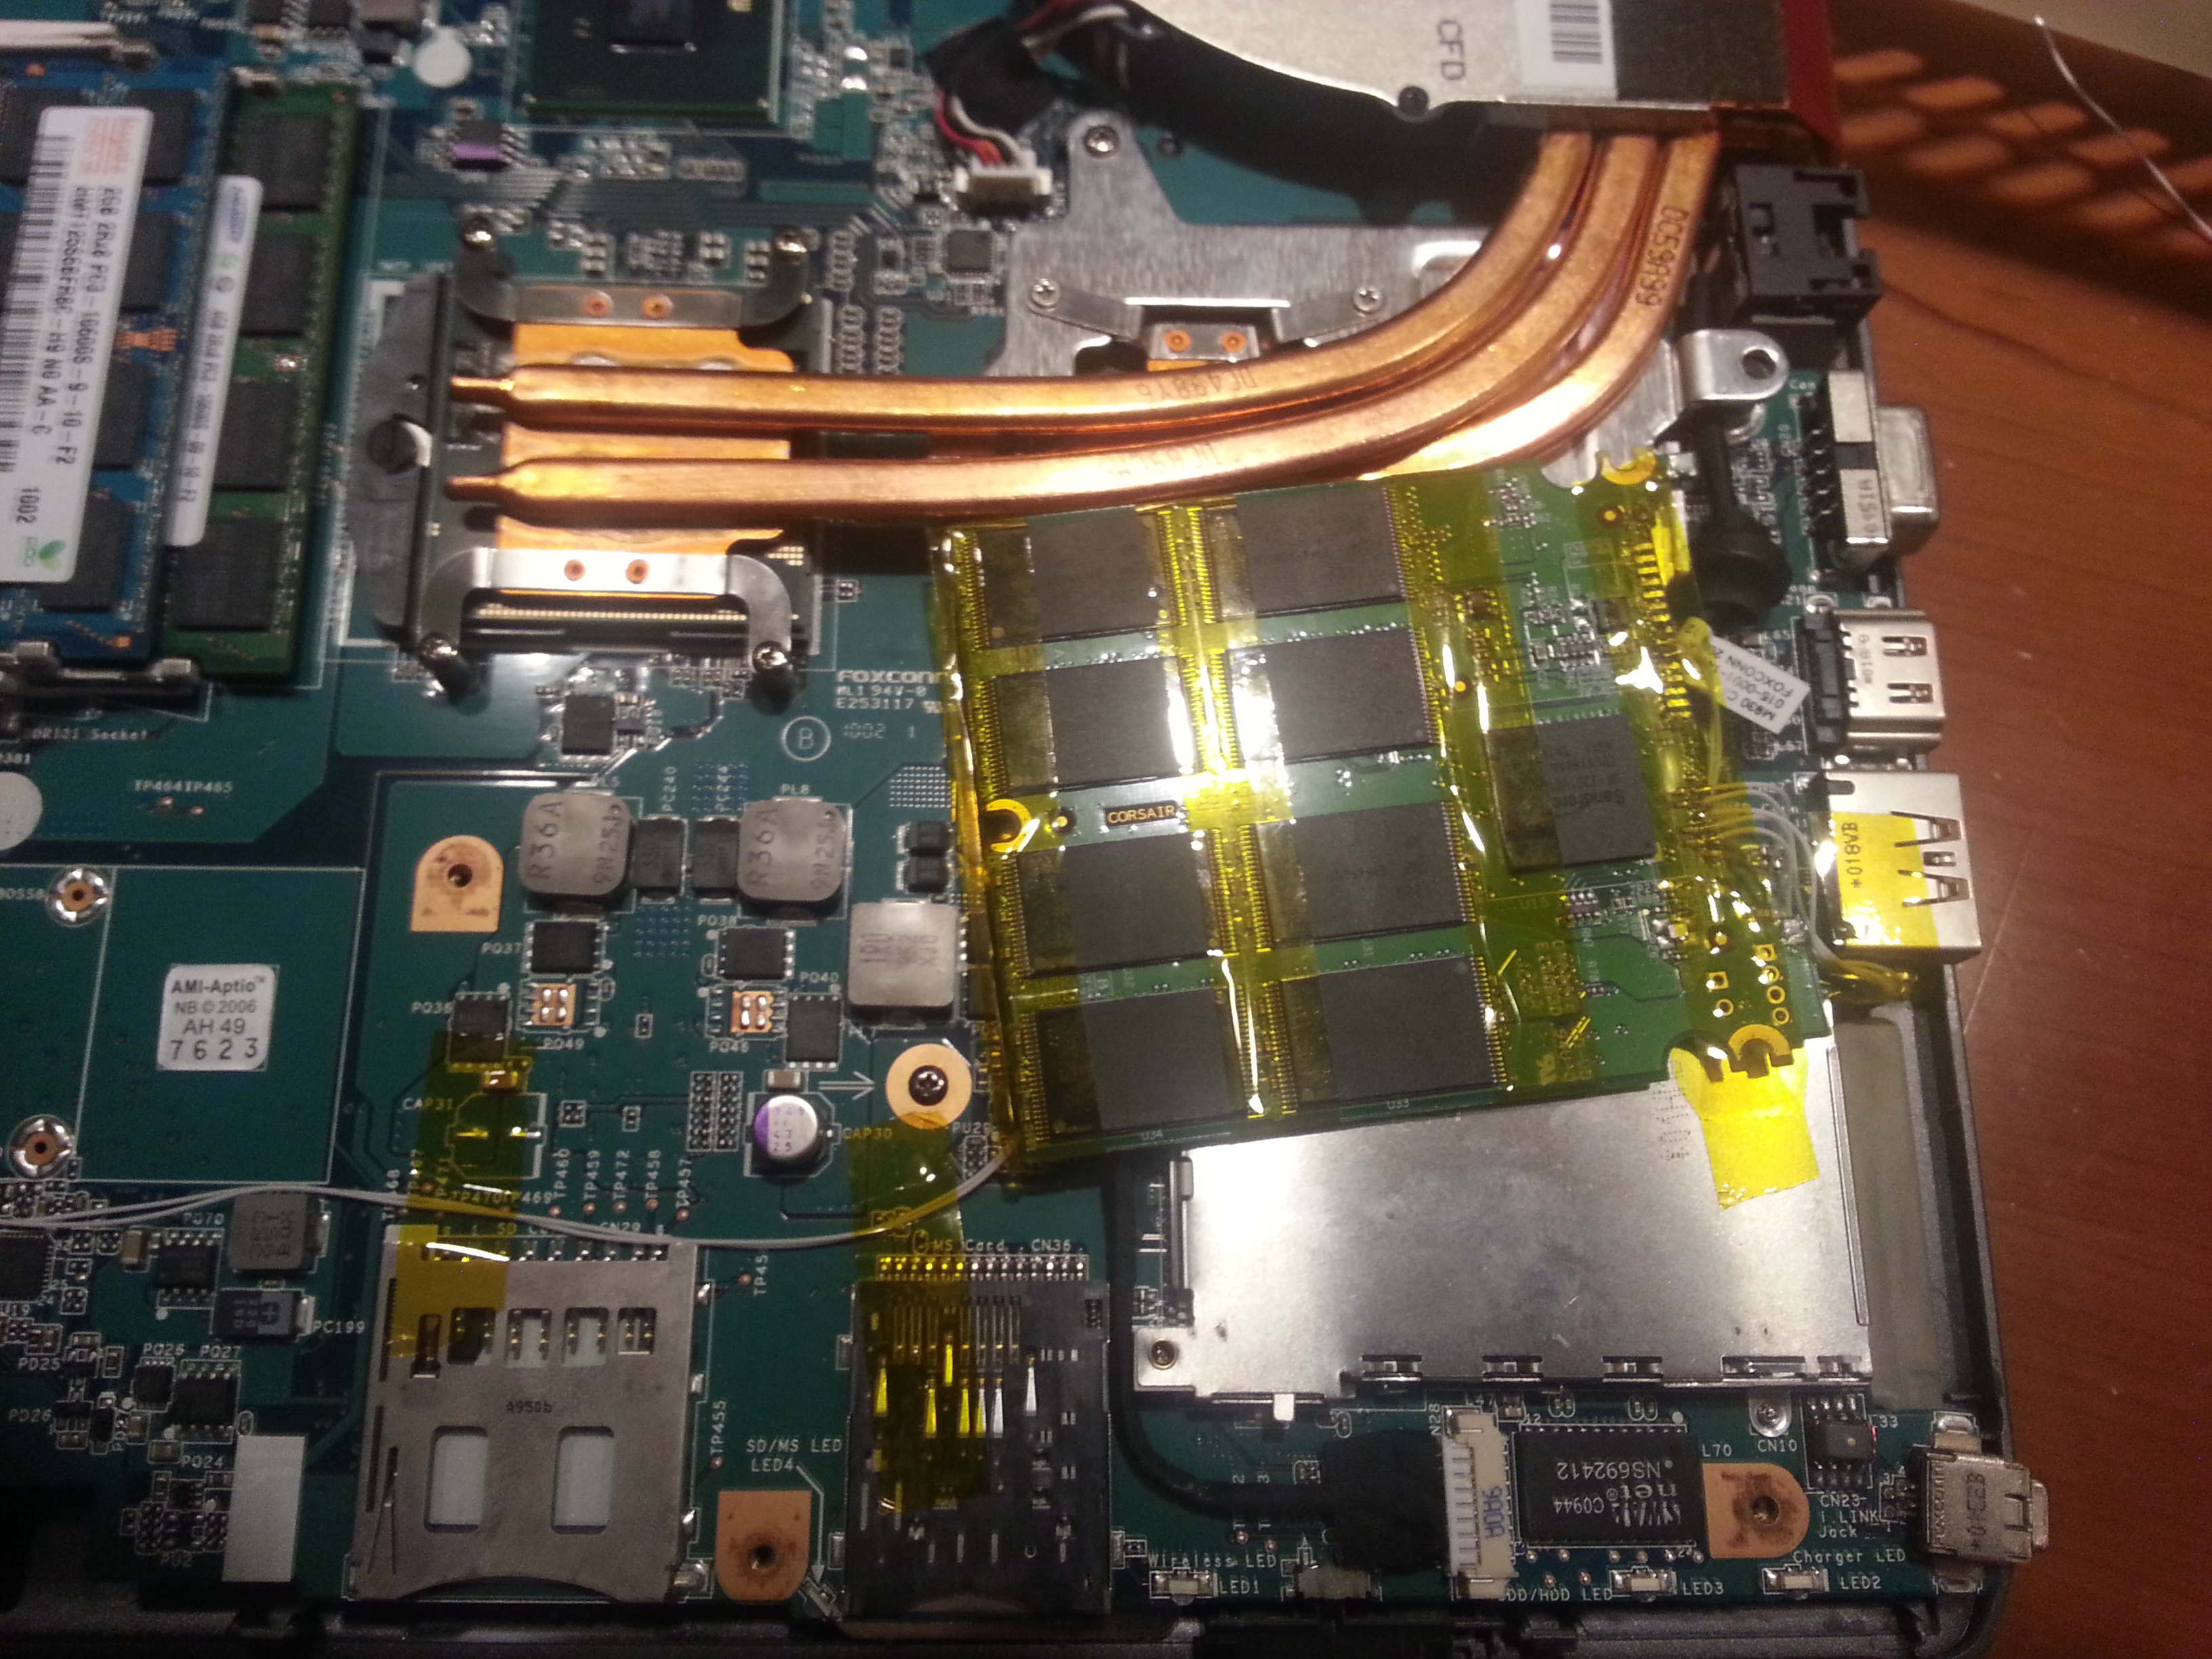
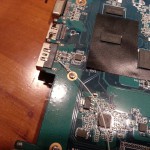
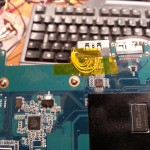
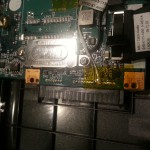
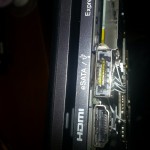
The VAIO has a powered ESATA connector on the left hand side, and the obvious solution was to hijack the connector inside and then tape it off, so I could still use the port for USB. Digging around, I found out that the chipset supported 6 SATA2 ports, but three of them were disabled somehow in the chipset (probably in the BIOS). Also the chipset is BGA, so getting to the extra connectors would be hopeless. So I stayed on the ESATA plan.
I took the power for the SSD from the primary HDD connector, as I thought that might be a better option than using the USB port (I might charge a phone off it or something).
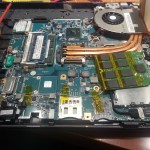
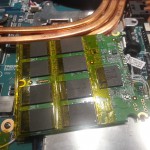
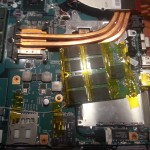
This is the final result, everything all finished nicely with Kapton tape to prevent any shorts. The ESATA port has been taped off, so the ESATA connector is inaccessible, but the USB part is working.
More pictures below.
Have fun!
Holy moly that is sick! Thanks for sharing the idea! I have just got my self this laptop as well and thinking of getting an SSD but without additional drive slot I was quite stuck and never thought about anything like this could happen, until I’ve saw this! This is just what I want it to do to my laptop!
Great pictures!
Could you possibly tell me what sort of wire did you use and what are they called? Last question, did you have problem putting the case/covers back on after the SSD is in place?
Thanks for your comments.
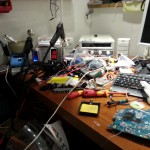
I used kynar wire, you can find it cheaply on Ebay by searching for “kynar wire”. Also I can highly recommend you getting some kapton tape for insulation, it’s what the pros and factories use (the yellow tape on the pictures).
Also you need a fine point soldering iron, I used a 1mm soldering iron.
The drive I used fits perfectly, but YMMV depending on what drive you choose for the slaughter job 🙂
Awesome! Thanks for the info. Just ordered some more stuff on eBay, thanks to you lol 😀
I will keep you updated on my SOON operations of my laptop. There are quite few things I need to do as well :/
AWESOME!
All the time looking around to find something to mod my girls laptop.
Feeling so bad, I recommended it to her a few years ago and it is so annoying loud (and slow after the installation of tons of ….).
So this is a mod to go for.
Another Idea I was searching for: getting it calmer! This device seems to have a lot of space! Modding around with the heatpipes, maybe adding some of them, replacing the fan, just doing something to get it calmer.
The Fan speed seems to be regulated just by the heat of the Chips. Maybe a peltier could be a solution? This laptop needs anyway so much power, that you won’t use it without a power cord.
Messing around with the heatpipes and cooling fan is a *bad* idea in my book. You’ll have a really hard time improving on it, without some real good equipment and manufacturing skills.
I’ll agree that the notebook is noisy, and also power hungry.
Heatpipes are pressurized, which makes them do the phase change that moves the heat around. Good luck improving on that.
But you can clean the fan and exhaust-fins with compressed air, and replace the stock cooling paste with something better.
Hi, I have ran into a little bit of trouble. For some reason the SSD I have desolder and it ended it like shown in below pictures 🙁
https://dl.dropbox.com/u/4251080/ssd/IMG_20120914_192503.jpg
The metal bit have came off and solder wont stick to it, so I am unable to solder the wire to it. Any help please would be appreciated.
Thanks
Urgh, that looks botched. You have applied too much heat or pulled the solder pads right off the board. The biggest problem is pad number 5 on the sata data connector, which is vital to getting communication to the disk working.
If you’re not comfortable with what you’re doing, stop right now.
You can recover by soldering pin5 right to the resistor pad after pin5 (which is now gone), but again I’ll stress that if you’re not comfortable with what you’re doing you can easily end up in a situation with no way back.
Pin1 on the power connector is not so important – it’s shorted to pin2 and pin3 by design anyway, and you won’t need it for this project (it’s for 12V+ which the SSD doesn’t need)
I have soldered them wires to the SSD and now I am unsure which wire should be solder to the eSATA points 🙁
Did you ever get this working?
Hi !
Great mod. I have the same computer, bought it some years ago second hand. Realise afterwards that the guy probably wanted to sell it since it is extremely noisy. Anyway, I was thinking about making a hole close to the fan. I read about it on a vaio forum, some guy said it helped him/her increase the cooling. I guess the RAM will get less cooling than before, since thats the place where the air intake is. But as long as the new hole is not too large, i think it should be a nice idea.
Hmm, now i have removed the lid to the RAM, i will see if the airflow to the fan increases and the noise subsides.
Did someone try to run the F11 without cover while disassembling it? would be interesting to see if the noise is drastically reduced running without cover.
If you have not already disassembled the notebook, and cleaned the fan and radiator fins on the thermal system for the CPU and GPU, do so now! Usually theres half a cat in there, and it blocks the exhaust system causing the fan to run all the time and the system to overheat.
The suggestion with cutting the plastic is interesting, but not necessary, at least my notebook still runs quietly and cool, unless I’m using the CPU or GPU heavily, in which case the fan should be running.
Thanks for your suggestion, maybe i will open it and clean it, and at the same time reinstall the heat tubes. But dust is not my first assumption since i’m very careful with it and the previous owner who had it only one year was too and there is no dust in the heatsink which i can see from the outside with a flashlight.
But mostly the reason is that I have read a lot about this problem on the F11. There seems to be a lot of poeple with this problem, i have read tons (metric) of forums. I would guess it’s simply a design where sony decided to implement a really fast cpu and gpu, regardless of noise.
Anyway, very interesting that yours is not so noisy. I should probably open it and take a look. Anyway, just to see if it runns better when the cover is off. Thanks for your suggestion. I just hate opening laptops, takes an hour just to find the screws 🙂 Does sony have disassembling instructions on the website?
-The norwegian mountain monkey.
Now i run the computer without the bottom cover. It was very easy to remove it, just remove all harddrive and cd player and battery and the screws and bottom cover, and reinstall the hdd again. Sony earned a big star there.
I did not find any dust, but tried to see if it runs more silent. Yes it does, a little anyway, but dont know if it’s because more air flows through the fan or because the whole machine gets more air. Not sure if drilling holes in the bottom will solve the problem, since when i only removed the cover of the ram, it did not run more silently.
Next step is to reinstall the heat tubes with new thermal grease, i will buy arctic silver 5, it’s cheap and the quality is not so bad. There are others that are a little better, but much more expensive. From what i read, the most brands within that pricerange are pretty similar in performance, so it doesnt matter so much which one you choose, i hear.
It’s the same with cars actually, the expensive cars are often easier to disassemble and fix, since the engineers have taken the time to figure out how to design it in a way the makes maintenance as easy as possible.
-The mountain monkey
vaio F11S1E (and Z21)
I’ve seen somewhere on the internet an HD case that replaces the BluRay Drive. but i can’t seem to find it any more, Any idea about that? I’m asking because i’m one step before disassembling my F11 to add a second drive.
trouts: Try ebay?
Very nice
3 questions
1. Why didn’t you use a normal sata cables and keep the connectors on the ssd? not enough space?
2. How did you manage to stabilize the ssd inside the laptop and protect him from heat? I saw that upside down its stands on the memory chips of gpu, I know this place is like hell when I play games on bed. Even with the 70 celsious operating temp I would try to avoid a little bit.
3. Did you had any power problems? They could draw double amps when you copy files betwen ssd and hdd.
And finaly, its seems you forget to post a benchmark test and the ssd model of cource,
but yeah, you did the importan think first
THANKS for sharing this so awesome and so simple idea.
Hi,
1) I didn’t use regular cables, as the space is really tight where I placed the SSD. It wouldn’t fit properly with the connectors on, and when I removed the connector the complete SSD is only 1-1.5mm thick.
2) To make sure the SSD does not move around I used a couple of pieces of double sided foam tape. Also I covered the drive with insulating kapton tape, this is really important as it would short out on the shield on the back of the computer otherwise. I don’t know how heat effects this setup if you do long sessions of gaming – I’ve just tried a few short runs of Split Second and that runs fine. Also I cleaned the heat exchanger fins and fan inside as the machine was used when I got it.
3) No power problems. The power usage is neglible on the SSD, and I think it’s the same 5V rail for both the original disk and the ESATA connector. It hasn’t been a problem.
Yeah, true – no benchmark, but wasn’t a priority 🙂 The drive runs full speed, so you can just use a benchmark from elsewhere, depending on what SSD you put in the notebook.
I have reinstalled the heattubes with some new thermal greae after cleaning the cpu and gpu. The heat tubes were sticking very well to the gpu but seemed to have loosened sligthly from the cpu. I used arctic silver 5 if i remember correctly, but from what i read it does not matter a whole lot which thermal grease you choose. Maybe try to avoid the unbranded ones.
Now, the vaio F11 is still noisy but the fan doesnt run at max speed so much a anymore. So it’s a little better now.
To do this is quite easy, but dont expect miracles. Just remove all screws under the laptop, remove the bottom cover and then remove the heat tubes (4 screws at the gpu and 4 at the cpu). The heat sink might stick to gpu/cpu so apply some force very carefully. Clean all 4 surfaces with cotton or something with some isopropanol or something else that doesnt harm the electronics before applying new thermal grease. You can read plenty on how to apply thermal grease on the web. You might also need an expired credit card cut into smaller pieces to scrape off some old hard old thermal grease from the heat pipes. Be gentle with cpu and gpu, if you need to clean them outside the mirrorlike large area, be extremely gentle not to destroy those small rectangular components, you dont need to clean that area anyway. New thermal grease costs about USD10.
Tobyflaye: If your computer keeps shutting down or the screen shuts down, it might be the gpu has loosened from the heat tubes.
Of course, also take away the dust if you see any.
Of course, also be careful, dont touch things you dont have to touch. You might touch the metal cover on the usb ports or some other metal cover to even out yours and the motherboards static charge level before you touch anything else. But you dont really have to tocuh anything else than the heat tubes and fan and the cpu/gpu thermal surfaces so don’t. Reinstall everything as it was. (even tapes, they might work as static ground.)
And firstly, remove battery and AC power cord.
I should also say i have some technical experience, if you feel unsure about this be very carefull and read on the web and watch videos about this or leave it to a workshop.
Sorry, i cut and pasted my comment, so Tobyflaye is not in this forum.
The source forum: https://www.sony.co.uk/discussions/message/1256146#1256146
hey… nice stuff…
i have a vaio s series laptop. the model is VPCS123fg to be more specific. i want to put ssd in place of hdd. do you think it is possible in this model.
thanks
Just an update 🙂 I cleaned the heatsink again, on the vpcF11S1E/B, now with pressured air on a can, and there seem to have been a layer of dust between the fan and the heatsink. It’s very strange that I did not find this when i took the heattubes and heatsink out to reinstall it with new thermal grease. Anyway, now the computer has a much better noise level on low load and doesnt get extremely hot.
lkarlslund – anyway that i can contact u? i have some questions.